Introduction
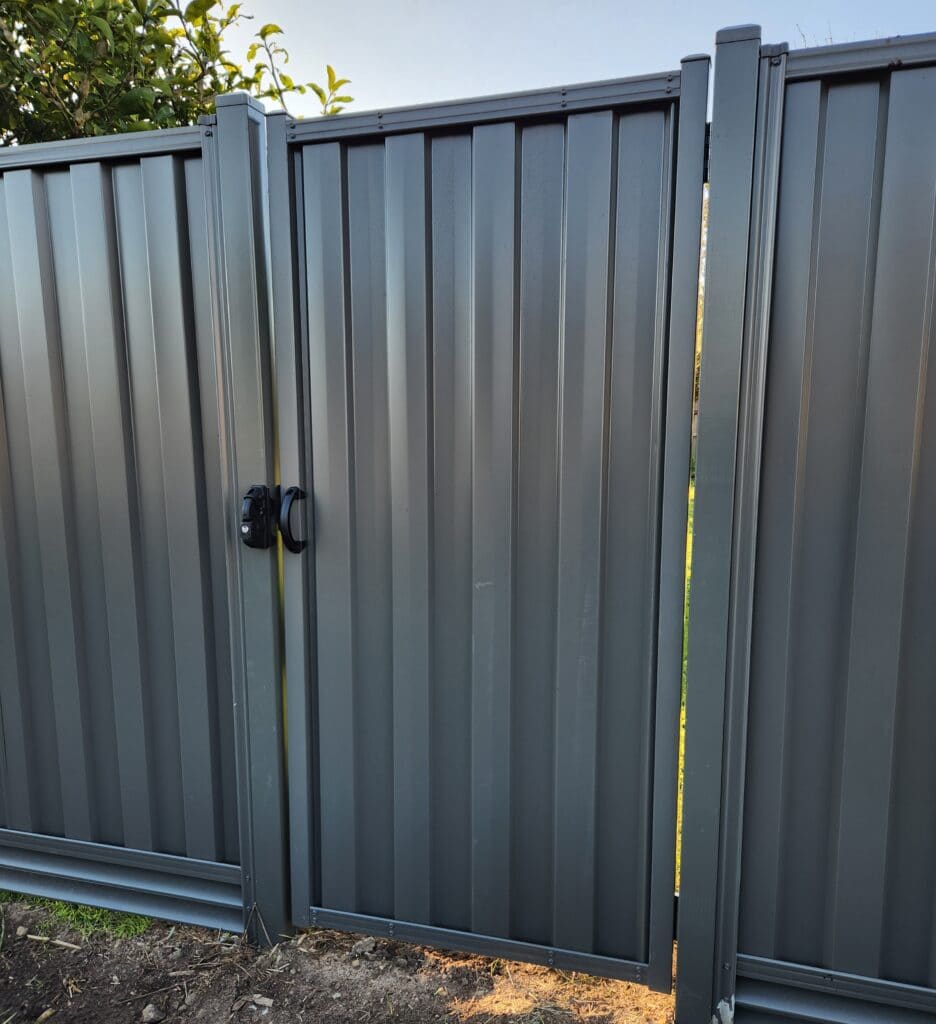
Colorbond fencing is a popular choice for homeowners throughout Australia due to its resilience, low maintenance, and aesthetic appeal. Nevertheless, gradually, even the most robust Colorbond steel can reveal signs of wear and tear. If your fence looks a bit worn-out or you want to revitalize its color, painting it can make a world of difference. In this thorough guide, we'll take you through every step of the painting procedure, ensuring that your Colorbond fence looks as great as new.
Understanding Colorbond Fencing
What is Colorbond Fencing?
Colorbond fencing is made from premium steel that comes coated in different colors and surfaces. This distinct finishing provides excellent corrosion resistance and assists keep the integrity of the product over time.
Benefits of Colorbond Steel
- Durability: Colorbond steel is resistant to rust, termites, and extreme weather conditions. Low Upkeep: Unlike timber fences, which require routine staining or treatment, Colorbond fences only require periodic cleaning. Aesthetic Variety: Available in lots of colors and styles, you can customize your fence to match your home's decor.
Why Paint Your Colorbond Fence?
Reasons to Refresh Your Fence
Enhance Visual Appeal: A fresh coat of paint can significantly enhance the appearance of your property. Protection from Components: Painting adds an extra layer of defense versus UV rays and moisture. Personalization: Change the color to suit your newer home style or personal taste.A Step-by-Step Guide to Painting Your Colorbond Fence
Step 1: Gather Your Materials
Before beginning any project, it's crucial to have all essential materials at hand:
- Quality exterior paint ideal for metal surfaces Primer (if needed) Paintbrushes and rollers Paint tray Painter's tape Drop cloths or tarps Cleaning supplies (broom, hose, sponge)
Step 2: Prepare the Area
Protect Surrounding Areas
Lay down ground cloth or tarps around the base of your fence to catch any drips or spills during painting.
Remove Obstacles
Clear away any plants or furniture near the fence that could obstruct your work area.
Step 3: Clean Your Colorbond Fence
Cleaning is necessary to ensure proper paint adhesion. Utilize a broom to get rid of loose debris before cleaning:
Wet the area with a hose. Use a sponge with moderate detergent to scrub away dirt and grime. Rinse thoroughly with clean water and let it dry completely.Step 4: Assess for Damage
Look for any rust areas or scratches on your fence. These must be resolved before painting:
- For small rust areas, sand them down until smooth. If there are extensive damages or holes, think about replacing areas before proceeding.
Step 5: Use Primer (If Essential)
Depending on the condition of your fence:
- If you've exposed bare metal or sanded areas, apply a guide developed for metals. Allow it to dry according to producer instructions.
Step 6: Choosing the Right Paint
Types of Paint Suitable for Colorbond Steel
When selecting paint:
- Look for top quality acrylic paints specifically created for metal surfaces. Ensure it is UV-resistant and has anti-rust properties.
Popular Colors for Colorbond Fencing
Consider these stylish alternatives:
Classic Cream Manor Red Deep Ocean
Step 7: Start Painting!
Techniques for Application
You can utilize both brushes and rollers depending upon availability:
Use painter's tape along edges for tidy lines. Begin with corners and edges using a brush before rolling bigger areas. Apply thin coats; several light coats are much better than one thick coat.Drying Times
Allow each coat sufficient drying time as indicated on the paint can identify before applying subsequent layers (usually between 4-- 6 hours).
Step 8: Final Touch-Ups
Once totally painted:
Inspect for missed out on areas; touch up where necessary. Remove painter's tape thoroughly while the paint is still somewhat wet for cleaner edges.Caring for Your Recently Painted Colorbond Fence
Maintenance Tips Post-Painting
To keep your recently painted fence looking fresh:
https://outstandingfencing.com.au/colorbond-fencing/ Regularly wash with water to eliminate dirt buildup. Inspect annual for indications of damage or peeling paint.
Frequently Asked Questions about Painting Colorbond Fences
Q1: Can I paint my Colorbond fence any color I want?
Yes! You have a variety of colors offered as long as you pick high-quality exterior paints appropriate for metal surfaces.
Q2: How frequently need to I repaint my Colorbond fence?
Generally every 7-- ten years depending upon direct exposure to components; nevertheless, inspect frequently for wear signs.
Q3: Is primer necessary when painting a Colorbond fence?
It's advised if you're working on bare metal areas; otherwise, top quality paint may adhere just fine without it.
Q4: What if my fence has rust? Can I still paint over it?
You should sand down rust areas until smooth; severe damage should be fixed prior to painting.
Q5: Will painting void my guarantee on the Colorbond steel?
Consult your manufacturer relating to warranty conditions but typically altering finishes might affect claims.
Q6: Can I use regular house paint on my fence?
No! Always go with paints that are specifically developed for metal surface areas like those made especially for Colorbond steel fences.
Conclusion
Painting your Colorbond fence not just revitalizes its appearance but also extends its lifespan significantly by offering defense against environmental factors. By following this step-by-step guide thoroughly-- from cleaning and prepping through application-- you'll accomplish professional-looking outcomes right in your yard! So grab those products and prepare yourself to transform that worn out old fence into something spectacular!
This article functions as an authoritative resource on preserving and boosting your outdoor area through correct care methods customized specifically towards painting a Colorbond fence effectively!